One evening my husband brought home some t-shirts from an event. I immediately knew I wanted to cut them up and make something for Curly Cutie. After a couple of wearings and washings the hubby finally handed them over, and I got down to business.
Neons are just not a set of colors I gravitate to, but since these shirts just fell in my lap I decided to make them over. Neon is in. Peplums are in. Why not combine the two? How about a cute little shirt. You know I had to keep it simple.
I thought I would fill you all in on just how simple it is to create this shirt. Like I said, I’m making this one for a child but the steps can easily be used to create one any size. First, I’ll show you the final product, then we’ll jump in to the process.

1. Gather the t-shirts you want to refashion.
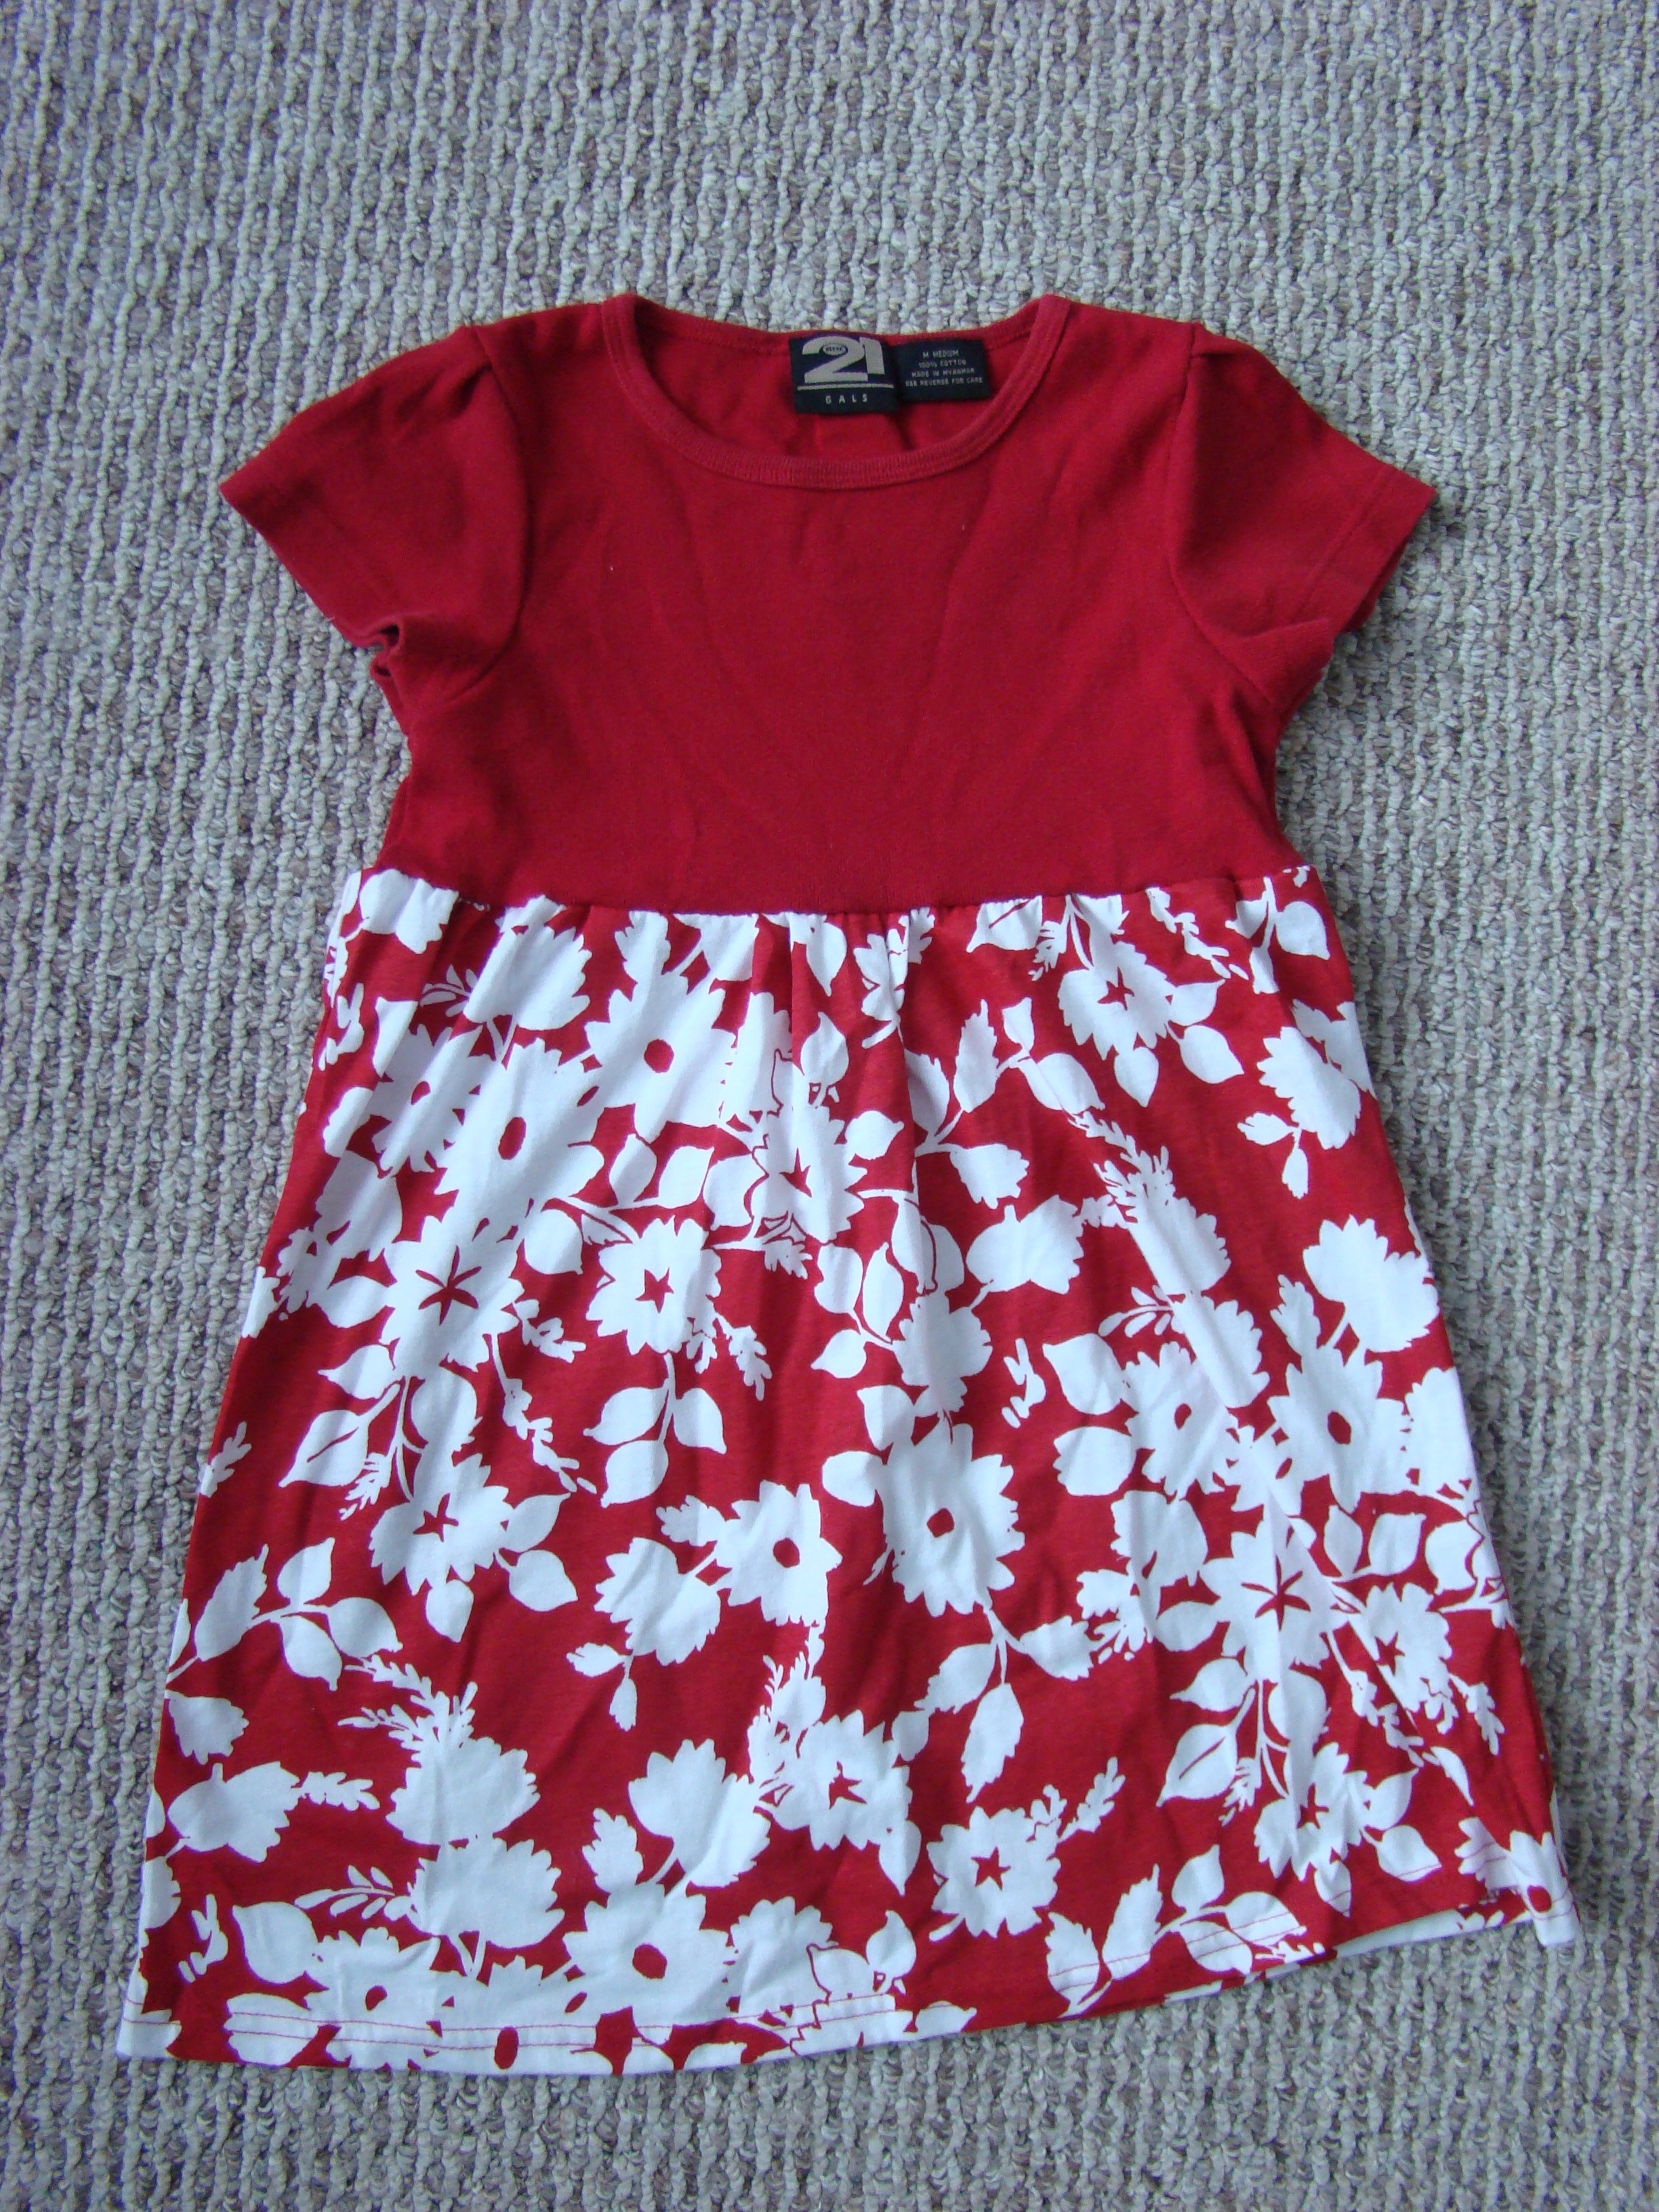
-I used (2) medium shirts. I could only use the lower portion because of the advertisements at the top.

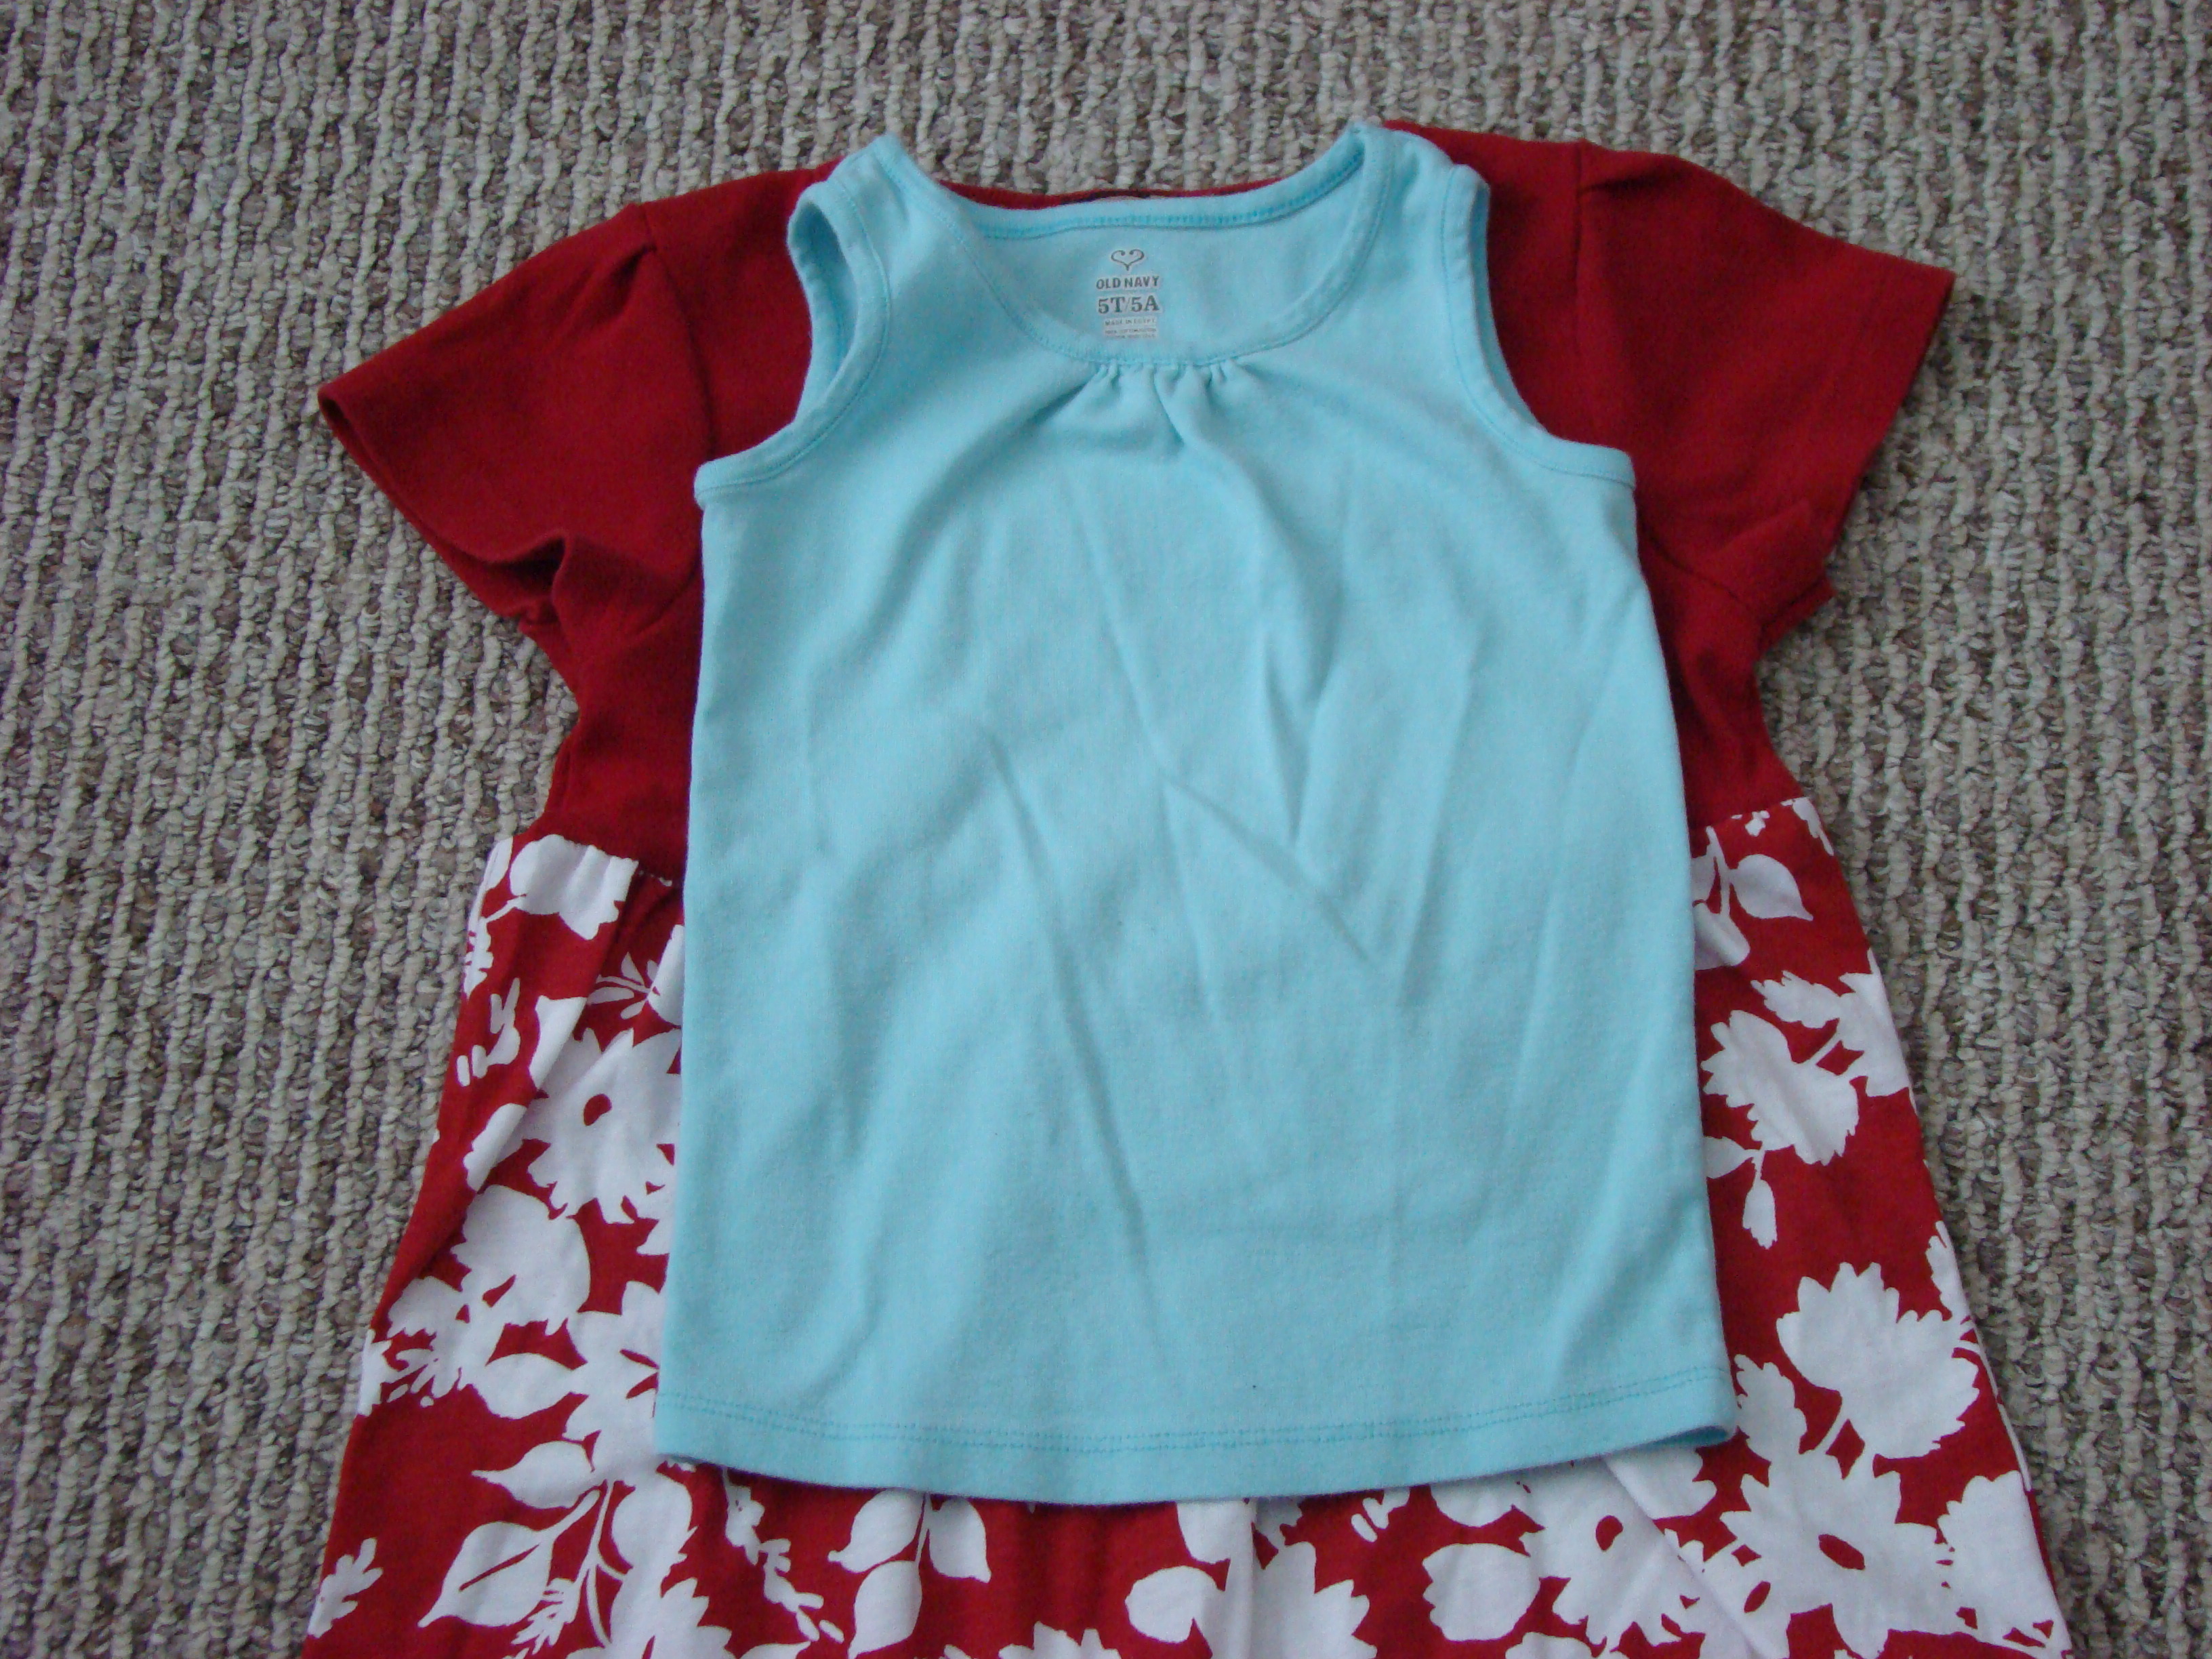
2. Use a nice fitting tank as a pattern for making the new shirt. This step would look different for an adult shirt.
-Fold the tank in half and lay it on one side of the t-shirt matching up the folded edge.

3. Cut around the edges of the tank making sure to leave about an extra 1/2″ on all edges. This will keep the shirt from being too small once it’s sewn. This will be the back bodice of our top.

4. Once your 1st t-shirt piece is cut, you can use it as a pattern to cut the 2nd piece. Take your 1st cut out piece and flip it over to the opposite fold on the t-shirt. Make sure folded edges are lined up again. Cut around t-shirt pattern, but there is no need to leave extra room this time. This will be the front bodice of our top.

5. Cut the lowered front neck hole on the 2nd cut t-shirt. In order to do this we need to place our original tank (blue) onto the t-shirt to see how far down we need to cut. Again, you want to cut 1/2″ larger than our pattern tank. Notice the green arrow pointing to my scissors (kinda hard to see). It is about 1/2″ above the front neckline of the tank. Do not cut through your tank, just move it out of the way as you cut up that curve.

6. You should have a front and a back cut out now. Notice the difference in neckline area.

7. Now we can sew the front and back bodice pieces together. Make sure the pretty sides of your t-shirt fabric are facing. Pin and sew the shoulder and side seams together (dotted lines). Working with knits can be tricky for some. I don’t claim to have mastered it, but from reading others’ experiences it seems like different things work for different people. I suggest doing some reading and practicing with what you have. What has worked for me is sewing with a stretch stitch. It looks like a slanted zig zag stitch. For an in depth look at sewing with knits you can check out this post from Prudent Baby.

8. Let’s work on the peplum. I pulled out the 2nd orange t-shirt in my possession. I cut off the top portion with the lettering. I used the bottom portion to create the peplum.

9. You will need the waist measurement of the person the shirt is for. I folded my tape measure to the size of CC’s waist which is 20.5″. I slightly curved the tape and placed it on the shirt like you see below. It did not give me a perfect semi circle, but there are sewing tools out there that do bend and stay in position. I just don’t own any, and this is what worked for me. This will allow you to cut the curve of the waist without having to do a bunch of math. You can also take a fabric marking tool and draw a curved line for you to cut out. Do whatever you are comfortable with. As you can see, this is still the bottom of the 2nd shirt and the fold is on the right while the top edge is open because that’s where I cut it from the top portion of the tee. You could replicate this technique with yardage fabric. It does not have to be from a t-shirt.

Here is the waist cut out.

10. You will need the lengths of the front (high) and back (low) of peplum. How far down do you want it to hang? For CC, her #’s were 6″ (front) and 9″ (back). You can see these measurements in the pics. This technique leaves the seam of the peplum in the back of the shirt. So, you have a one-piece peplum with a back seam. Make a snip with your scissors at those two marks.


You can once again use the tape measure to create a curve for you to cut, or you can use a marking tool to draw a curved line.

Go ahead and make your cut.

Remove the peplum skirt, and place scraps to the side. The folded edge is the front, and the two cut edges will meet in the back. This will give you a preview of what the peplum will look like attached to the shirt top. This is also the time to make any necessary adjustments.

11. Sew seam of peplum. Again, I used about a 1/2″ seam allowance. Make sure the pretty sides of your fabric are touching. Pin and sew the raw edges together.

12. Connect peplum to shirt. With the right side of the shirt facing out, place the peplum around the outside of the shirt matching raw edges. Remember to line up the peplum seam with the center back of the top. You can also mark the center front and sides of the peplum with a pin before attaching it to the the shirt so you can get an even match up with the front and sides of the top. Pin the shirt and peplum in place. Sew around the waist using the same 1/2″ for seam allowance. You can see my line of stitching around the waist in the pic below.

13. Hem the bottom of peplum. You really can do what you want at this step. You can leave it without a hem. You can turn the hem up one or twice to your desired length. I turned the hem up one time at about 3/8″. The seam will not fray when washed, so this step is just about aesthetic preference.


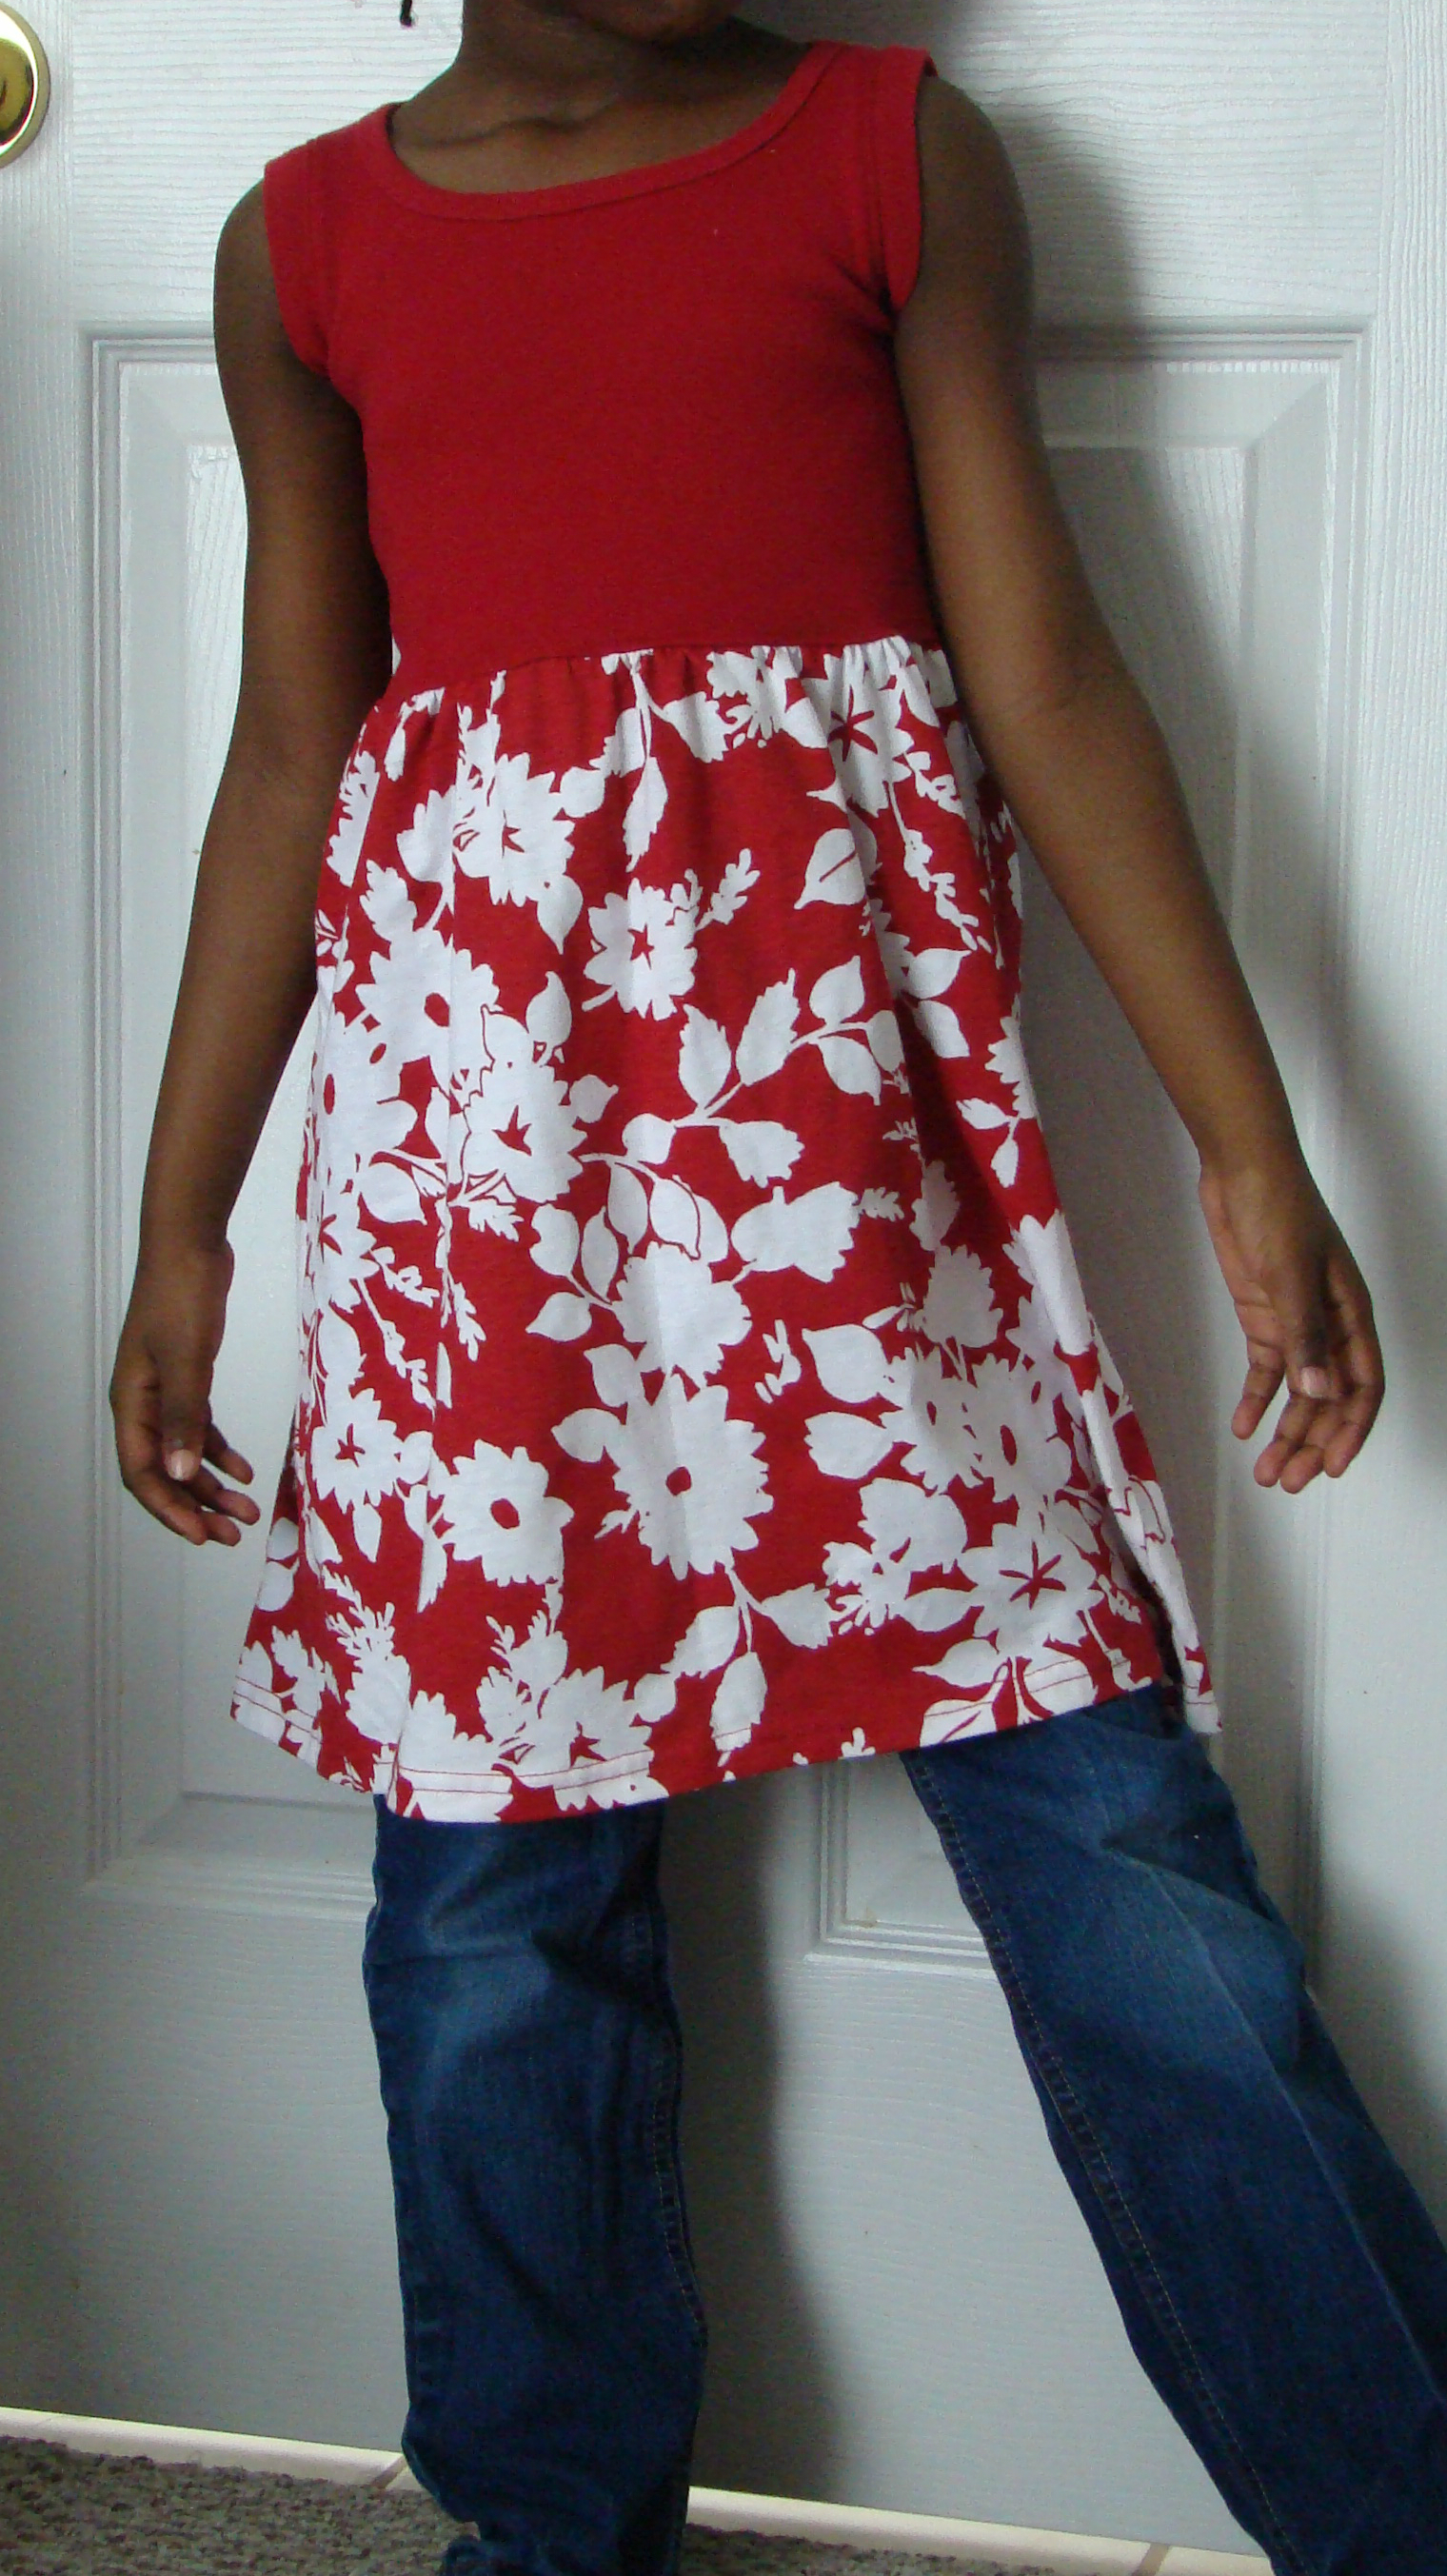
You’re done!!!!


Oh, the white capris were refashioned from a t-shirt as well. I used an old pair of CC’s capris for a pattern. I used a wonderful tutorial from Dana to construct the bottoms. If you guys aren’t familiar with Dana you should check her out. I can see myself making more of these in the future.

Curly Cutie adores this outfit. She looks comfortable and can move with ease. And the fabric was free. This is how we’re clothing CC for the summer.